Dreamweaver
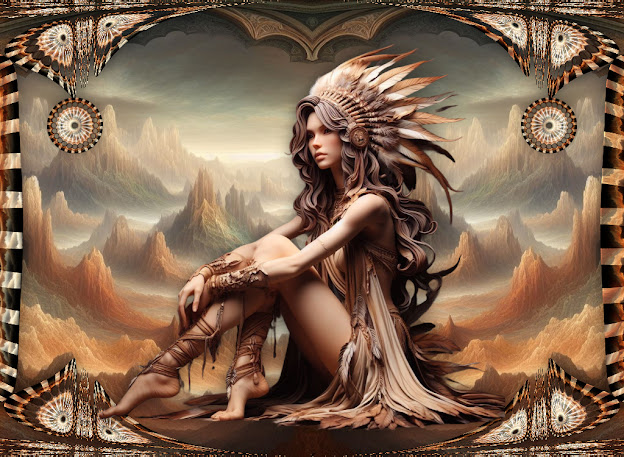
Material HERE All Images AI generated by me Feel free to use them No © needed! Of course no selling :-D Outside Plugins Used Flaming Pear-Flexify2 Open your material 1. New Image 1024x750 Select All 2. Open your background-Copy Back to Image-Paste into Selection Select None 3 Duplicate Effects-FlamingPear-Flexify 4. Inner Bevel 5. Duplicate Close off the Top Layer Go to the Layer Below 6. Effects-Geometric Effects-Circle 7. With the Selection Tool-Feather Nil Go around the middle part Press Delete Select None 8.Drop Shadow 9. Open up the top Layer Resize 35% Twice Place it to left as shown 10. Duplicate Image-Mirror-Mirror Horizontal Merge Down Same Drop Shadow 11. Open the Indian Maiden-Copy Back to Image-Paste as New Layer Resize 65% Place her in the middle Same Drop Shadow Add your Watermark and save as .JPG Mapie's Tutorials 2023