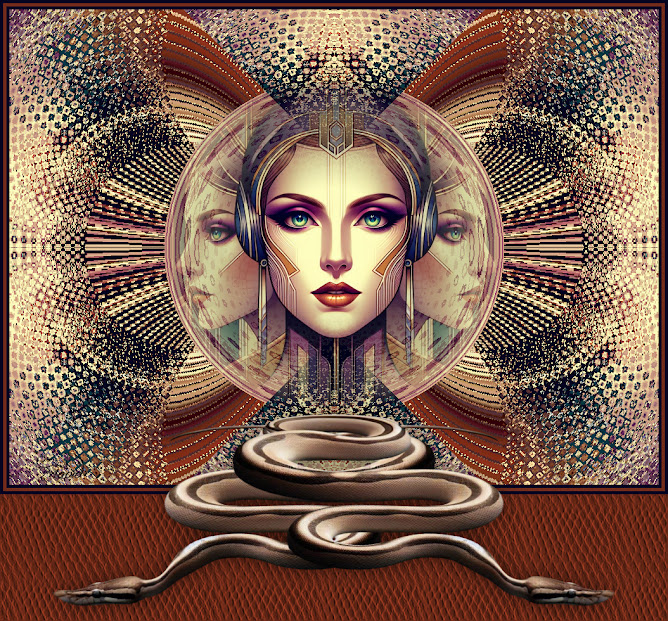
Posts

Showing posts from April, 2024

Serpentia

Image
  Material  HERE All Images AI created and tubed by me  Feel free to use them No © needed  But please don't sell them as your own Outside Plugins Used DSB Flux-Bubbles Filters Unlimited-Distort-Turn your inside outside Simple-Pizza Slice Mirror A Plugin Site  HERE Place the Snake Skin Texture into your Textures Folder Open your material 1. New Image 1024x750 Select All 2. Open the Background-Copy Back to Image-Paste into Selection Select None 3. Effects-DSB Flux-Bubbles 4. Effects-Reflection Effects-Rotating Mirror 5. Effects-FU-Distort-Turn Your Inside Outside 6. Effects-Simple-Pizza Slice Mirror 7. Effects-Reflection Effects-Rotating Mirror 8. Open the Misted Lady-Copy Back to Image-Paste as New Layer Resize 50 Place her as shown 9. Drop Shadow Duplicate Merge Down 10. Set your Foreground Colour to #050521 Background Colour to #732c19 11. Image-Add Borders 5-Foreground Image-Add Borders 5-Background Image-Add Borders 5-Foregroundd 12. Image-Add Borders-See Below 13. Magic Wand-Fe

Leisure Walk

Image
  Translated into French by Manou Merci, Manou Material  HERE All Images AI created and tubed by me Except the lovely Fairy She was tubed by Lin Youngblood  Feel free to use them No © needed  But please don't sell them as your own Outside Plugins Used Redfield LatticeXP (If you don't have LatticeXP,  I've included the background created by XP in the zip) A Plugin Site  HERE Put the Gradient into your Gradient Folder Open your material Set your Foreground to Gradient 1. New Image 1024x750 Fill with the Gradient 2. New Raster Layer Select All Open the Fairy-Remove Watermark-Copy Back to Image-Paste into Selection Select None 4. Effects-Image Effects-Seamless Tiling-Side by Side 5. Repeat Seamless Tiling but this time Default Merge Down 6. Effects-Reflection Effects-Rotating Mirror 7. Duplicate Effects-Distortion-Displacement Map Merge Down 8. Duplicate Effects-Redfield-Lattice XP-Jolly Plaques-Default 9. Press the K on the keyboard and pull it down a little below halfway Pres

The Fortune Teller

Image
  Translated into French by Manou Merci, Manou Material  HERE All Images AI created and tubed by me  Feel free to use them No © needed  But please don't sell them as your own Outside Plugins Used DSB Flux-Bubbles Murameister-Perspective Tiling Murameister-Copies A Plugin Site  HERE Put the Smoke wisp large in your Brushes Folder Open your material 1. New Image 1024x750 Select All 2. Open the Background-Copy Back to Image-Paste into Selection Select None 3. Effects-DSB Flux-Bubbles 4. Effects-Geometric Effects-Circle 5. Duplicate On the Duplicate Layer Effects-Murameister-Perspective Tiling Everything the same, except for the height 6. With the Magic Wand-Feather 90 Click inside the empty space and press Delete about 2 or 3 times Select None 7. Open the Round Button-Copy Back to Image-Paste as New Layer Resize 75% 8. Effects-Murameister Copies 9. Delete the top half until you get this 10. Duplicate On the Layer below Adjust-Blur-Motion Blur 11. Back to the Top Set this Layer to '

Bohemian Rapsody

Image
Translated into Dutch by Karin Dank je, Karin Translated into French by Manou Merci, Manou Material  HERE All Images AI created and tubed by me  Feel free to use them No © needed  But please don't sell them as your own No Outside Plugins Used Place the Emboss6 in your Presets Folder Open your material Set your Foreground to #114158 Background to #356b7d 1. New Image 1024x750 Select All 2. Open the Background-Copy Back to Image-Paste into Selection Select  None 3. With the Sharpen Tool, sharpen some flowers, also the flowers on the girls hair 4. New Raster Layer Set your Foreground to Gradient-Foreground/Background Angle 90-Repeats 1 Fill with the Gradient 5. Layers-New Mask Layer Merge Group Place it as shown 6. Delete that little bit on the silhouette figure  7. Effects-User Defined Filter-Emboss6 8. Drop Shadow 9. Set this Layer to 'Luminance' 10. This is what you have so far 11. Image-Add Borders 5-Foreground Image-Add Borders 50- Background 12. Magic Wand-Feather Click