Posts

Showing posts from March, 2023

Red Night

Image
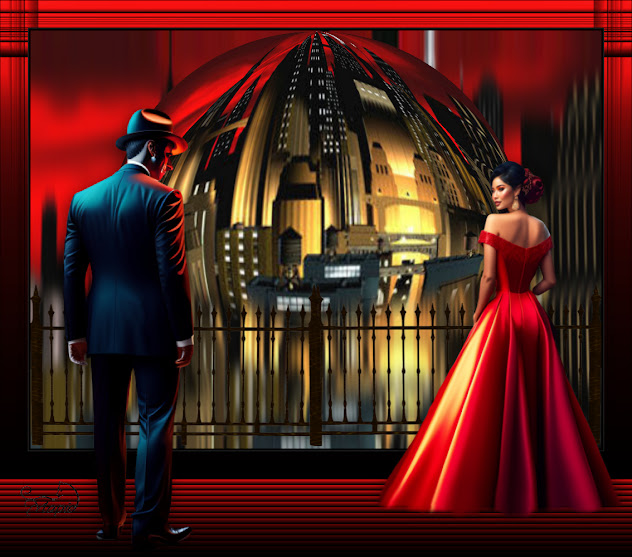
  Material HERE Set your Foreground to  #df100f and background to #000000 Gradient Open a New Image 1024x750 Select All 1. Open the background-Copy Back to Image-Paste into Selection Select None 2. Duplicate Close off Layer 1 Press the K button and move the duplicated layer half way up - Press M button 3.  With the Magic wand-Feather 50 click on the empty bottom space Press Delete about 5 times 4. Open up Raster Layer 1 Adjust-Blur-Motion Blur Repeat about 3 times 5. Back to Top Layer Effects-Geometric Effects-Spherize 6. Effects-Geometric Effects-Circle This is what you have so far Merge Down 7. Open up the fence-Copy Back to Image-Paste as New Layer Resize 75% Twice 8. Duplicate Image-Mirror-Mirror Horizontal Push them together Merge Down With the K tool, stretch it all the way across the image Press M Merge Down 9.  Add Borders 6 Background colour Black Add Borders 50 with the Foreground Colour 10. Click inside that border with the Magic Wand-Feather Nil Fill with the Gradient 11. R

My Secret Garden

Image
  Translation to Dutch by Jeanne HERE Veel bedankt, Jeanne! Translation to French by Manou  HERE Merci, Manou! Material HERE Plugins Used Medhi-Sorting Tiles Murameister-Perspecive Tiling Toadies-What Are You Set your foreground to  #227088 and your background to  #eee8df 1. New Image 1024x750 Select All 2. Open your background-Copy Back to Image-Paste into Selection Select None 3. Effects-Medhi-Sorting Tiles Image-Mirror-Horizontal 4.  New Raster Layer-Select All Open your misted background-Copy Back to Image-Paste into Selection Select None Place the mist up and to the left 5. Back to Raster 1- Duplicate Effects-Murameister-Perspective Tiling 6. With the Magic Wand-Feather 50 Click in the empty space Press Delete Twice 7. Open up the Fairy-Copy Back to Image-Paste as New Layer Place her to the left 8. Open up the butterfly-Copy Back to Image-Paste as New Layer Resize 75% a few times Place it top right 9. Open up the flowers and vase-Copy Back to Image-Paste as New Layer Resize 75% Tw

Dragon Love

Image
  Material HERE Plugins Used Flaming Pear-Flood Topaz Labs-Mild Colour Pop- (Optional) Set your foreground to  #305a67 and background to  #b7cad0 Gradient Foreground/Background 1. Open a New Image 1000x750 Fill with the gradient Select All 2. Open the Dragon lady image-Copy Back to Image-Paste into Selection Select None 3. Effects-Image Effects-Seamless Tiling-Side by Side 4. Effects-Art Media Effects-Brush Strokes 5. Effects-Distortion Effects-Polar Coordinates Effects-Image Effects-still in memory Duplicate 6. Effects-Flaming Pear-Flood 7. With the Selection Tool with Feather 50 go around the top (cave) until you get to the water-Press Delete 8. Back to Raster 1 Effects-Geometric Effects-Spherize Then Effects-Geometric Effects-Circle 9. This is what you should have 10. Open up your dragon-Copy Back to Image-Paste as New Layer Resize to 75% and place in the middle 11. With your Selection Tool set to feather 50 Go around the bottom of the dragon and press delete twice 12. Open your Dra

At Home

Image
  Material HERE No outside Plugins Used Open your images Set your foreground to  #fff1c5 1. Open a New Image 1024x750 Floodfill with the foreground 2. New Raster Layer Select All 3. Open your girl tube-Copy Back to Image-Paste into Selection Select None 4. Effects-Image Effects-Seamless tiling-Default Merge Down 5. Duplicate Effects-Distortion Effects-Displacement Map Merge Down 6.  Open the misted background-Copy Back to Image-Paste as New Layer Move it up and to the left a bit 7. Open the girl tube again-Copy Back to Image-Paste as New Layer Resize to 105% Move to the left 8. Open the cat tube-Copy Back to Image-Paste as New Layer Resize once to 50% and twice to 75% Place under the misted background 9. New Raster Layer Select All 10. Open the lace curtains-Copy Back to Image-Paste into Selection Select None Duplicate and set opacity to about 80 11. When you're happy Merge All Add your watermark and save as .JPG Mapie's Tutorials 2023

Autumn Splendour

Image
  Material HERE Plugins Used Toadies-Weaver Open your images and mask 1. New Layer 1024x750 Select All 2. Copy your background Back to Image-Paste into Selection Select None 3. Duplicate On the duplicated layer-Toadies-Weaver 4. With your Selection Tool Feather Nil Select the top from the fence look and press Delete Move it down a bit Effect-Edge Effects-Enhance If you like it a bit brighter-duplicate and  place it in Hard Light 80% Opacity The Frame will look different too. (result at bottom) 5. Drop Shadow 6. New Raster Layer Move below the Fence Fill with White 7.  Layers-New Mask Layer-From Image Merge Group Set this layer to Luminance and Opacity to 75 8. Copy the girl-Back to top layer Paste as New Layer I resized mine 120% Move her to the right Drop Shadow-(still in memory) 9. Copy the leaves Back to Image and Paste as New Layer Image Mirror-Resize to 50% Move it to the top left Drop Shadow (still in memory) 10. Copy the birds Back to Image-Paste as New Layer Resize to 50%, then

Goth Magic

Image
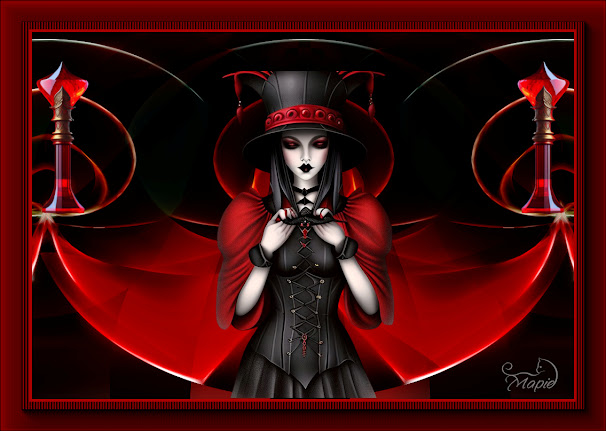
Material HERE Add the gradient in your PSP Gradient Folder Plugins Used Caroline and Sensibility-CS-Reflection Lotis-Mosaic Toolbox Redfield-Fractalius AAA Fotoframe (If you can't get Lotis and/or Redfield, please see NOTE at the bottom of the page) Set you foreground to Gradient And your background to #aa0000 1.  Open a New Image 1024x750 Fill with the gradient 2.  Blur-Caussian Blur 3. Caroline and Sensibility-CS-Reflection 4. Lotis-Mosaic Toolkit 5. Effects-Distortion Effects-Warp 6.  Image-Mirror-Mirror Vertical Duplicate 7.  On the duplicated layer, Effects-Distortion-Polar Coordinates 8. Effects-Image Effects-Seamless Tiling 10.  Redfield-Fractalius 11. I didn't like one side, so with the selection tool feather nil, delete the unwanted half Duplicate the layer that's left Image-Mirror-Mirror Horizontal Push it against the other half Move it up a tiny bit Merge Down Duplicate 12. Open your lady tube Place in the middle If she's too small, resize her 13.  Open the t