Posts

Showing posts from February, 2025

Morticia

Image
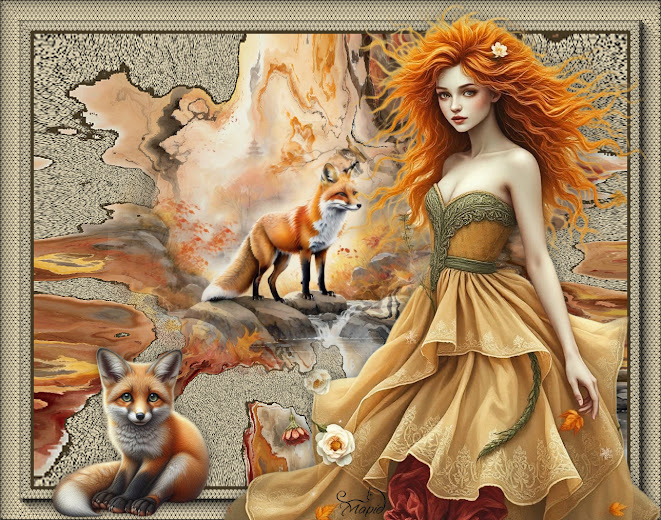
Translated into Dutch by Karin Dank je, Karin! Material   HERE I forgot to add the masks, so HERE it is. All Images AI created and tubed by me.  Feel free to use them No © needed  But please don't claim and sell them as your own Outside Plugins Used Alienskin-Nature-Drip A Plugin Site  HERE For Everything PSP including Tubes, Masks, Tutorials etc Registration is FREE HERE Open your material Set your Foreground to Black Background to #b51a00 1. New Image 1024x750 Fill with Black 2. New Raster Layer Set to Gradient 3. Fill with the Gradient 4. Layers-New Mask Layer-From Image Merge Group 5. Effect-User Defined Filter-Emboss3 6. Selections-Select All-Float Effects-3D Effects-Cutout Select None 7. Layers-Duplicate Image-Mirror-Mirror Horizontal Merge Down 8. Effects-Geometric-Spherize 9. Effects-Alienskin-Nature-Drip 10. Open the Misted Background-Copy Back to the bottom Layer-Paste as New Layer Resize 65% 11. Image-Add Borders 4-Black Edit-Copy 12. Image-Add ...

Vixen

Image
  Translated into Dutch by Karin Dank je, Karin! Translated into French by Manou Merci, Manou! Material   HERE All Images AI created and tubed by me.  Feel free to use them No © needed  But please don't claim and sell them as your own Outside Plugins Used Filters Unlimited-Distortion Filters-Smelter1 A Plugin Site  HERE For Everything PSP including Tubes, Masks, Tutorials etc Registration is FREE HERE Open your material 1. New Image 1024x750 Select All 2. Open your Background-Copy Back to Image-Paste into Selection Select None 3. Image-Add Borders 6- #453823 Image-Add Borders 60- #ccc1a3 4. Click inside the Outer Border Effects-Texture Effects-Tiles Select None 5. Effects-FU-Distortion Filters-Smelter1 6. Effects-Distortion Filters-Pinch 7. Open the Background again Layers-Load/Save Mask-From Disk Merge Group Copy 8. Back to Image-Paste as New Layer Resize 65% Place it in the middle as shown 9. Image-Add Borders 6- #453823 Image-Add Borders 60- #c...

Aura

Image
Translated into Dutch by Karin Dank je, Karin!   Material   HERE All Images AI created and tubed by me.  Feel free to use them No © needed  But please don't claim and sell them as your own Outside Plugins Used Alienskin Splat Demo-Resurface A Plugin Site  HERE For Everything PSP including Tubes, Masks, Tutorials etc Registration is FREE HERE Open your material 1. New Image 1024x750 Select All 2. Open your Background-Copy Back to Image-Paste into Selection Select None 3. Effects-Alienskin-Splat Demo-Resurface 4. Open the Background again Layers-Load/Save Mask Pick the 20-20 Mask Merge Group Copy 5. Back to Image-Paste as New Layer Resize 90 Move it a bit to the right if needed Merge Visible 6. Edit-Copy 7. Image-Add Borders 4-Black Image-Add Borders 60-White 8. Magic Wand-Feather Nil Click inside the White Border Paste into Selection 9. Promote Selection to Layer 10. Effects-Texture Effects-Weave 11. Effects-Distortion Effects-Punch Select None 12. Open the Bird-...

Owl Love You

Image
Translated into Dutch by Karin, Dank je, Karin! Material HERE All Images AI created and tubed by me.  Feel free to use them No © needed  But please don't claim and sell them as your own Outside Plugins Used AP Lines-Silverlining Alienskin-Impact Glass A Plugin Site  HERE For Everything PSP including Tubes, Masks, Tutorials etc Registration is FREE HERE Place your preshapes (objets.jsl) into your preshape folder Open your material 1. New Image 1024x750 Select All 2. Open your Background-Copy Back to Image-Paste into Selection Select None 3. Duplicate 4. Effect-AP lines-Silverlining 5. With the Eraser Brush-Size70-Feather nil Erase the Bottom Left Flower,so the first layer becomes visible Once your happy, Merge Down 6. Effects-Reflection Effects-Rotating Mirror 7. Click View-Rulers Selection Tool set to Rectangle-Feather Nil Make a Selection on the Left to about 150 8. Promote Selection to Layer Uncheck Rulers Duplicate Image-Mirror-Mirror Horizontal Merge Down 9. Effects-G...

Flora

Image
Translated into Dutch by Karin Dank je, Karin! Material  HERE All Images AI created and tubed by me.  Feel free to use them No © needed  But please don't claim and sell them as your own Outside Plugins Used BKG Designers sf10-II- Picasso's Another's Word Déformation-Verre A Plugin Site  HERE For Everything PSP including Tubes, Masks, Tutorials etc Registration is FREE HERE Put the Gradient into your Gradient Folder Open your Material 1. New Image 1024x750 Fill with the Gradient 2. New Raster Layer Select All 3. Open the Flower Girl-Copy Back to Image-Paste into Selection Select None 4. Effects-Image Effects-Seamless Tiling Merge Down 5. Effects-BKG Designer sf10 II Picasso's Another Word 6. Effects-Reflection Effects-Rotating Mirror 7. Open the Misted Background-Copy Back to Image-Paste as New Layer Resize 65% Place it a bit to the Right Set Opacity to about 85 Merge Down 8. Select All Image-Add Borders 60-  White Selections-Invert Promote Selection to Laye...