Posts

Showing posts from February, 2024

Dutch Treat

Image
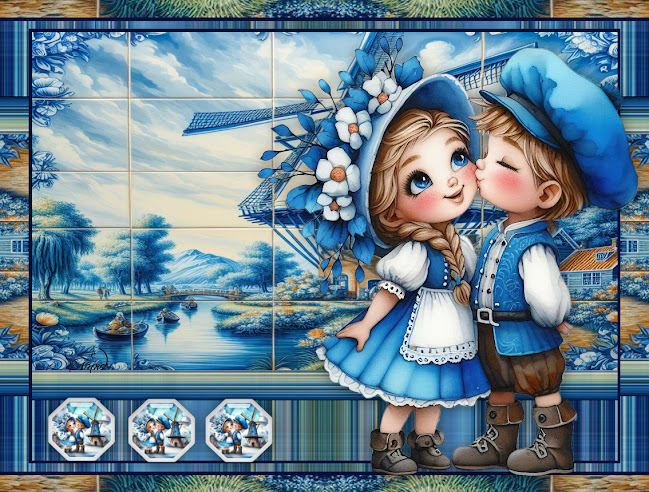
  Translated into French by Manou Merci, Manou Material  HERE All Images AI created by me  Feel free to use them No © needed  But please don't sell them as your own The cute boy and girl tubed by my good friend Lin Youngblood Outside Plugins Used Toadies-Weaver Alienskin-Impact-Glass A Plugin Site  HERE Open your material 1. New Image 1024x750 Select All 2. Open Backgtound-Copy Back to Image-Paste into Selection Select None 3. Effects-Toadies-Weaver 4. Effects-Reflection Effects-Rotating Mirror-180 5. With the Selection Tool-Rectangle-Feather 1 Go around the top part 6. Open the Background again-Copy Back to Image-Paste into Selectioon Select None 7. Image-Add Borders 5-#01113c Image-Add Borders 50-White 8. With the Magic Wand-Feather Nil Click inside the white border Copy the background again Back to Image-Paste into Selection 9. Effects-Reflection Effects-Kaleidoscope Select None 10. Set Foreground to #f6f6f6 New Raster Layer With Selection Tool-Octagon-Feather Nil Make a small S

A Flash of Colours

Image
  Translated into Dutch by Karin Dank je, Karin Material HERE All Images AI created by me  Feel free to use them No © needed  But please don't sell them as your own Outside Plugins Used Redfield-Lattice XP A Plugin Site  HERE Put the Gradient in your Gradient Folder Open your material 1. New Image1024x750 Fill with Black 2. New Raster Layer-Select All Open the Girl Tube-Copy Back to Image-Paste into Selection Select None 3. Effects-Image Effects-Seamless Tiling-Default Merge Down 4, New Raster Layer Fill with the Gradient Move this layer below Raster1 5. Back to the Top Layer-Raster1 Effects-Redfield-Lattice XP Decorative Poles-Default Settings 6. Press the K on the keyboard Pull it down to just above half way Press the M on the keyboard 7. Effects-Geometric-Circle 8. With the Selection Tool-Point to Point-Feather Nil Carefully go around the inner pattern Press Delete 9. With the Eraser Tool-Size 80 Erase the left bottom tail Do the same on the right side 10. Effects-Reflection Eff

Tea Ceremony

Image
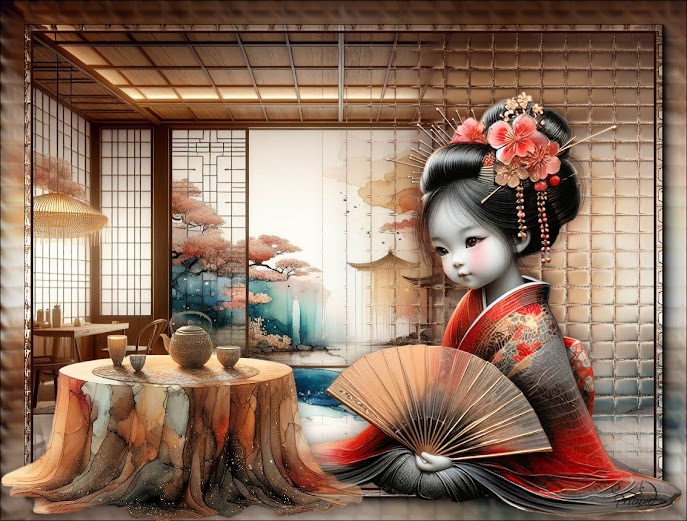
  Translated into French by Manou Merci, Manou Translated into Dutch by Karin Dank je, Karin Material HERE Background and table AI Generated by me The Lovely Japanese Doll is tubed and shared by my good friend Lin Youngblood Outside Plugins Used VM Toolbox-MirrorM AAA Fotoframe Open your material 1. New Image 1024x750 Select All 2. Open your background-Copy Back to Image-Paste into Selection Select None 3. Effects-VM Toolbox-MirrorM 4. Image-Mirror-Mirror Horizontal 5. Selection Tool-Rectangle-Feather 2 Go around the right size of the image as shown below Promote Selection to Layer Select None 6. Adjust-Blur-Caussian Blur 7. Effects-Texture Effects-Mosaic Glass 8. Drop Shadow 9. Back to Raster 1 Edit-Copy 10. Image-Add Borders 5-#240805 Image-Add Borders 50-White 11. Magic Wand-Feather 0 Click inside the Outer White Border Paste into Selection 12. Effects-AAA Fotoframe Select None 13. Open the Japanese Doll-Remove Watermark-Copy Back to Image-Paste as New Layer Resize 85% Place it bott

Manou

Image
Translated into French by Manou, the subject of this tutorial :-) Merci, Manou Material  HERE All Images AI created by me Feel free to use them No © needed But please don't sell them as your own Outside Plugins Used Andromeda-Perspective Filters Unlimited-Photo Effects-Frame02 Open your material Place the Wetpaint Font in your font folder 1. New Image 1024x750 Select All 2. Open your background-Copy Back to Image-Paste into Selection Select None 3. Duplicate 4. Effects-FU Photo Effects-Frame02 5. Magic Wand-Feather Nil Click on the black outside border Press Delete Select None 6. Effects-Andromeda-Perspective 7. Effects-Geometric-Spherize Move it down a bit 8. Press the K key and pull it up Press the M on your keyboard 9. Drop Shadow Close this Layer for now 10. Back to Raster 1 Effects-Distortion Effects-Pixelate 11. Effects-Art Media-Brush Strokes 12. Set your Foreground to Black Background to #bc2624 13. Click on Text Select Wetpaint-Size 96-Stroke Nil-Vector Type your name  (De

Klimt

Image
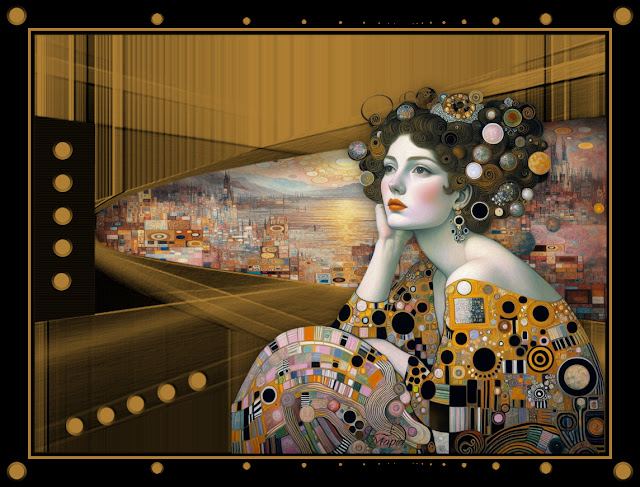
  Translated into Dutch by Karin Dank je, Karin Material HERE All Images AI created by me Feel free to use them No © needed But please don't sell them as your own No outside Plugins Used Open your material 1. New Imagee 1024x750 Fill with Black 2. New Raster Layer Fill with #ac7d32 3. Layers-New Mask Layer-From Image Merge Group 4. New Raster Layer Free Hand Selection Tool-Point to Point Feather 2 Make a Selection in the middle-see preview 5. Open the Background-Copy Back to Image-Paste into Selection Select None 6. Duplicate Effects-3D Effects-Cutout Set this Layer to 65 Opacity Merge Down 7. Set your Foreground to Black Background to #ac7d32 Gradient 8. Preset Tool-Ellipse-Draw Circle Draw a small button Convert to Raster Layer Edit, Copy, Save as New Image Minimize this for now 9. Back to Main Image Duplicate the button 4 times Place them underneath each other Merge Down 4 times 10. Duplicate Press K on the keyboard Move it down and rotate-see preview When you're happy, pres