Posts

Showing posts from May, 2023

Fall Flowers

Image
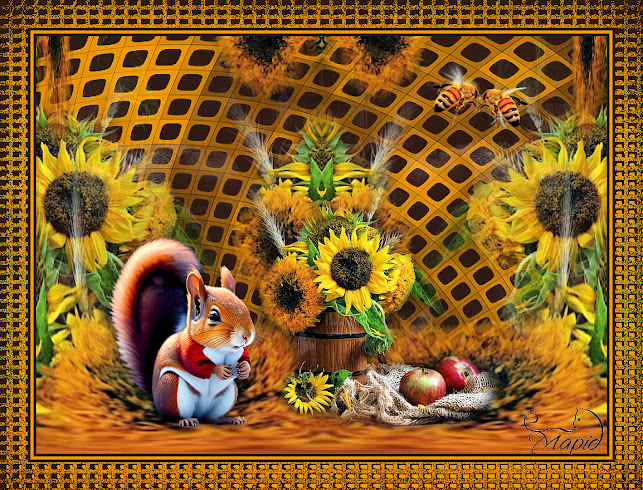
  Material HERE No Outside Plugins Used Open your tubes and mask Set your foreground to  #271207 and background to  #d58400 1. New Image 1024x750 Fill with the Foreground 2. New Raster Layer-Select All 3. Open the Fall Flowers Tube-Copy Back to Image-Paste into Selection Select None 4. Effects-Image Effects-Seamless Tiling-Default 5. Effects-Image Effects-Seamless Tiling-Side by Side 6. Effects-Reflection Effects-Rotating Mirror 7. Duplicate Effects-Distortion Effects-Polar Coordinates 8. Image-Mirror-Mirror Vertical Close off the Layer below Back to Top Layer With the Delete Tool-Size about 120, delete the middle of the layer Merge Down 9. Back to Raster 1 Layers-New Raster Layer Fill with the Background Colour Layers-New Mask Layer-From Image Merge Group Effects-Edge Effects-Enhance 10. Open the Fall Flowers again-Copy Back to Image-Paste as New Layer Image-Mirror-Mirror Horizontal Place it in the middle 11. Drop Shadow 12. Open the squirrel tube-Copy Back to Image-Paste as New Layer

Afternoon Delight

Image
  Material HERE Outside Plugins Used Medhi Vibrations 1.1 Murameister-Perspective Tiling Texturizer-Canvas Open the Tubes and Backgrounds 1. New Image 1024x750 Select All 2. Open the Osaka Autumn background-Copy Back to Image-Paste into Selection Select None 3. Open the Misted Background-Copy Back to Image-Paste as New Layer Move it a little bit to the right Image-Mirror-Mirror Horizontal Merge Down Duplicate 4. Effects-Medhi-Vibrations 1.1 Set this Layer to -Overlay Merge Down 4. Effects-Texturizer-Canvas 5. Duplicate Effects-Murameister-Perspective Tiling 6. Effects-Texture Effects-Fur Merge Down 7. Open the Lady tube-Copy Back to Image-Paste as New Layer Resize 80% Twice Move her to the bottom left 8. Effects-3D Effects-Drop Shadow 9. Open the Vaas-Copy Back to Image-Paste as New Layer Resize 50% and then 80% Place it to the bottom right Drop Shadow 10. Open the 'afternoon delight' Japanese saying-Copy Back to Image-Paste as New Layer Place it in the middle and a bit above S

An Eye for Beauty

Image
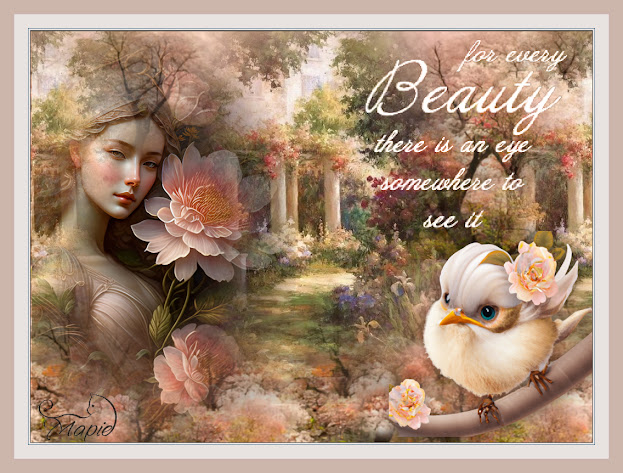
  Material HERE No Outside Plugins Used Also translated into French by Manou Thank you Manou! Put the Beauty Script in the brushes folder Put the 20-20 in your mask folder Put the Blanche Renee Script in the Script Restricted Folder Open the tubes and backgrounds 1. New Image 1024x750 Select All 2. Open the Cherry blossom background-Copy Back to Image-Paste into Selection Select None 3. Duplicate With the Move Tool move it down to about halfway 4. With the Magic Wand-Feather 50 Click inside the black space Press Delete about 4 or 5 times Select None Merge Down 5. Effects-Image Effects-Seamless Tiling Side by Side 6. Clone Brush size 100-Right Click on a nice flower Then Left Click over the black tree stumps until nearly gone 7. Open the Misted Background-Copy Back to Image-Paste as New Layer Move it up a bit Duplicate Effects-Image Effects-Seamless Tiling as before Side by Side 8. Open the Lady Tube Layers-Load/Save Mask from Disk Choose the 20-20 Merge Group Copy 9. Back to Image-Past

Summertime

Image
Material HERE No Outside Plugins Used Place the 20-20 mask into your mask folder Place the Gradient into your Gradient folder Place the Circus Script into your Scripts-Restricted folder Open the tubes and the mask 19 1. New Image 1024x750 Select All 2. Open the background with the clouds and sun-Copy Back to Image-Paste into Selection Select None 3. Adjust-Blur-Radial Blur 4. Effects-Edge Effects-Enhance Duplicate Image-Mirror Horizontal Set this layer to 'Hard Light' and Opacity to 70 Merge Down 5. Open the background2-the beach background Layers-Load/Save Mask-20-20 Merge Group-Copy 6. Back to Image Layers-New Raster Layer-Select All Paste into Selection Select None 7. Open the Colourful Boat Layers-Load/Save Mask-20-20 Merge Group-Copy 8. Back to Image-Paste as New Layer Resize 75% Move to the bottom right Line up the horizon with the beach 9. Layers-New Raster Layer Fill with White Layers-New Mask Layer-From Image-19 Merge Group 10. Selections-Select All-Float Set your fore

Pop Rock

Image
  Material HERE Outside Plugins Used Murameister-Perspective Tiling Alien Skin-Snapart-Comics Filter Forge 11-Halftone Frame or Vanderlee-Halftone Put the 20/20 mask in your mask folder Open your tubes 1. New Image 1024x750 Select All Open the abstract background jpg-Copy Back to Image-Paste into Selection Select None 2. Effects-Geometric Effects-Circle 3. With the Selection Tool set to Ellipse Make a circle in the middle Layers-New Raster Layer 4. Open the Painting of the group jpg Layers-Load/Save Mask 20/20 Merge Group Copy 5. Back to Image-Paste into Selection Select None Resize 85% Move it, so it fits in the middle Merge Down 6. Duplicate Murameister-Perspective Tiling 7. With the Magic Wand-Feather 80 Click inside the empty space Press Delete 3 times Select None Merge Down 8. Layers-New Raster Layer Fill with White Layers-New Mask Layer-From Image Merge Group Image-Negative Image Merge Down 9. Duplicate Effects-AlienSkin-Snapart-Comics Assorted Pop Art Set this layer to Screen-Op

A Magical Place

Image
  Material HERE Outside Plugins Used Sandwater-Aetherize or Flaming Pear-Aetherize-Default Place the Blanche Renee frame script   in your Scripts-Restricted folder Open the tubes 1. New Image 1000x750-Select All Open your background-Copy Back to Image-Paste into Selection Select None 2. Effects-Sandwater-Aetherize 4. Effects-User Defined Filters-Emboss 3 4. Effects-Reflections Effects-Rotating Mirror 6. Duplicate On the Duplicated one Effects-Distortion Effects-Polar Coordinates 7. Image-Mirror-Mirror Vertical 8. Selections-Rectangle-Feather 80 Select the bottom and press Delete Twice 9. Open the flowers-Copy Back to Image-Paste as New Layer Place bottom left Duplicate-Image-Mirror-Mirror Horizontal Merge Down . 10. Effects-User Defined-Emboss 3 11. Open the Elf-Copy Back to Image-Paste as New Layer Place her in the middle 12. Drop Shadow 13. Merge Visible-Edit Copy 14. Script-Blanche Renee 15. Magic Wand-Feather Nil Click inside the outer border Paste into Selection 16. Adjust-Blur-Ca