Posts

Showing posts from September, 2023

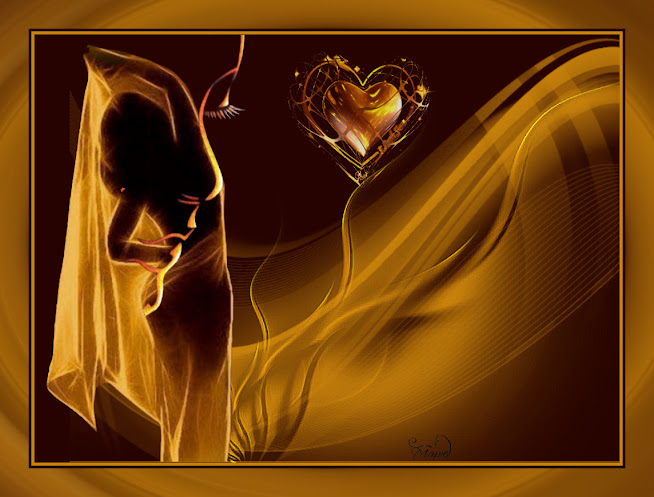
Burning Heart

Image
  Material HERE No Outside Plugins Used Open the Material Set your Foreground to #260300  Background to #c8820b 1. New Image 1024x750 Fill with the Foreground #260300 2. Open the Lady Tube-Copy Back to Image-Paste as New Layer Place her to the left 3. Back to Raster 1 New Raster Layer Fill with the background Layers-New Mask Layer-From Image Merge Group Move it a bit to the right-see end result 4. New Raster Layer Fill with the Background Layers-New Raster Layer-From Image Merge Group Move it a bit to the right-see result 5. Effects-Edge Effects-Enhance More 6. Open the Heart-Copy Back to Image-Paste as New Layer Place it as shown Resize 90% Opacity 85 7. Image-Add Borders 5-Background Image-Add Borders 5-Foreground Image-Add Borders 50-Background 8. Magic Wand-Feather Nil Click inside the Outer Border Adjust-Blur-Radial Blur Select None Add your Watermark and save as .JPG Mapie's Tutorials 2023
Halloween Night

Image
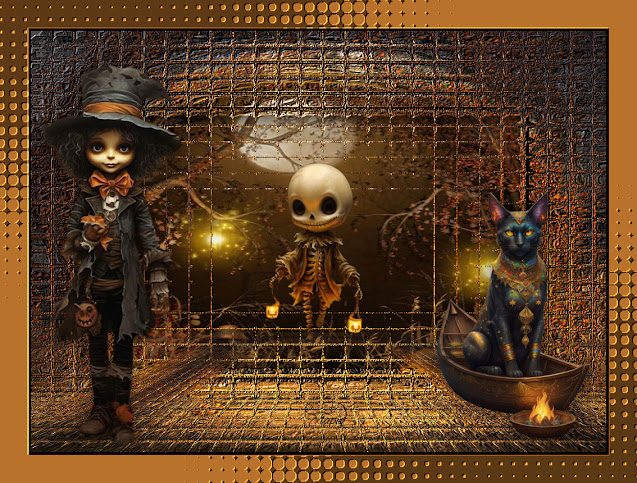
translated into French by Manou Merci, Manou   Material HERE Outside Plugins Used Murameister-Perspective Deformation-Bubble Distort Open the Material 1. New Image 1024x750 Fill with Black 2. New Raster Layer-Select All Open the Background-Copy Back to Image-Paste into Selection Keep Selected 3. Duplicate On this Layer-Modify-Contract Press Delete Keep Selected 4. On the Layer below-Raster 2 Selection-Invert Press Delete Select None 5. Back to Top-Copy of Raster 2 Effects-Texture Effects-Mosaic Glass 6. Effects-User Defined-Emboss 3 7. Drop Shadow 8. Duplicate Effects-Murameister-Perspective 9. Magic Wand-Feather 80 Click inside the empty space Press Delete Select None 10. Open the little skeleton-Copy Back to Image-Paste as New Layer Place it in the middle 11. Open the Halloween Boy-Copy Back to Image-Paste as New Layer Resize 120%-All Layers NOT Checked Place him to the left 12. Drop Shadow 13. Open the Halloween Cat-Copy Back to Image-Paste as New Layer Resize 75% Place it to the ri

ArtWorx

Image
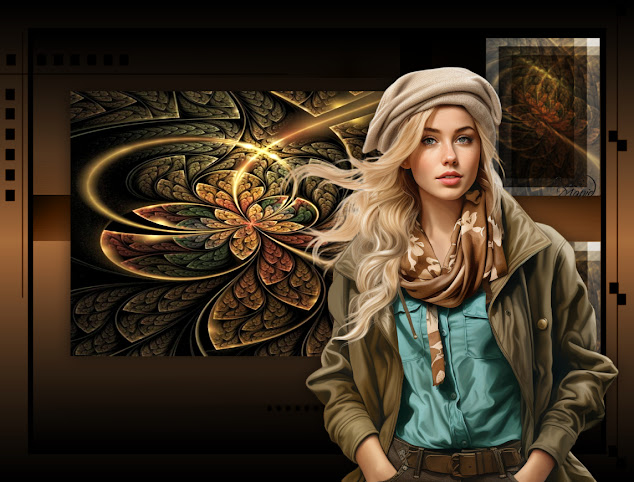
  Translated into Dutch by Karin Dank je, Karin Material HERE Outside Plugins Used Filters Unlimited-Special Effects1-Shiver Open your material Set your Foreground to Black Background to #9a6f46 Gradient 1. New Image 1024x750 Fill with the Gradient 2. New Raster Layer Fill with Black 3. Layers-New Mask Layer-From Image Merge Group Duplicate Merge Down 4. Open the Background-Copy New Raster Layer-Select All Paste into Selection Select None 5. Resize once 75% and once 85% Place it as shown 6. Adjust-Brightness/Contrast-Fill Light/Clarity 7. Drop Shadow 8. New Raster Layer Make a selection with the rectangle tool-Feather Nil Paste into Selection the background Select None 9. Effects-FU-Special Effects1-Shiver 10. Duplicate Set this layer to Overlay-Opacity 60 Merge Down 11. Drop Shadow-Same as Before 12. Duplicate Move that down With the K on the keyboard pull it a bit larger Press the M key 13. Image-Add Borders 5-Black Image-Add Borders 50-White With the Magic Wand-Feather Nil Fill with

Queen of Gold

Image
Translated into French by Manou Merci, Manou Material HERE Thank you, Lin Youngblood for the lovely Lady!  Outside Plugins Used Background Designers-SF101-Center Mirror Background Designers-SF101-Circle Pede Background designers-SF101-Cut Glass 01 Put the Gradient into your Gradient Folder Put the Selection into your Selections Folder Open your material Set your Foreground to the Gradient 1. New Image 1024x750 Fill with the Gradient 2. Duplicate Effects-BKG-Center Mirror 3. New Raster Layer Fill with the Gradient 4. Layers-New Mask Layer-From Image Merge Group Duplicate Merge Down 5. Duplicate again Image-Mirror-Mirror Horizontal Merge Down Effects-Edge Effects-Enhance 6. Selections-Load/Save Selection From Disk Pick the 'queen of gold' selection Press Delete 7. Also go down one layer (copy of raster 1) and press Delete again Select None 8. While still on that layer-Duplicate Set it to 'multiply' Merge Down 9. Back to Top Layer Merge Down 10. Drop Shadow Set this layer&

Shadow Play

Image
  Material HERE No Outside Plugins Used Open the material 1. New Image 1024x750 Select All 2. Open the Background-Copy Back to Image-Paste into Selection Select None 3. With the Selection Tool-Feather 2 Select the middle 4. New Raster Layer Open the Image6-Copy Back to Main Image-Paste into Selection Select None 5. Set your Foreground to #c70706 Back to Raster 1 New Raster Layer Fill with the Foreground 6. Layers-New Mask Layer-From Image Image-Mirror-Mirror Horizontal Merge Group 7. Drop Shadow 8. Open the lady shadow-Copy Back to Top of Image-Paste as New Layer Place her to the right You might need to use the K on the keyboard to pull her down a bit Press M 9. Open the Stage Image-Copy Back to Image-Paste as New Layer Place it as shown Press the K on the keyboard Pull it up to the top Press M on the keyboard 10. Open the Lady tube-Copy Back to Image-Paste as New Layer Place her as shown 11. Drop Shadow 12. Merge Visible With the Selection Tool-Feather Nil Make a Selection on the bott

Cry Me A River

Image
Translated into Dutch by Karin Dank je, Karin Material HERE Outside Plugins Used Flaming Pear Flood Alienskin-Nature-Waterdrops Put the Teardrop Shape in your presets Folder Open your material 1. New Image 1024x750 Select All 2. Open the Abstract Tears Background-Copy Back to Image-Paste into Selection Select None 3. Effects-Reflections Effects-Rotating Mirror 4. Duplicate Effects-Flaming Pear-Flood 5. With the Selection Tool-Rectangle-Feather 3 Go around the top part, leaving just the flooded part Press Delete-Select None 6. Effects-Alienskin-Nature-Waterdrops 7.  Magic Wand-Feather 80 Click inside the empty space Delete 6 times Select None 8. Open the Misted Face-Copy Back to Image-Paste as New Layer Resize 75% Place her in the middle and a bit up 9. Open your Preset Shape Tool Pick the Teardrop Drag a shape on the left-see below 10. Set your Foreground to Black Your Background to #e32400 Gradient 11. Magic Wand-Feather Nil Click inside the white teardrop Fill with the Gradient Selec