Posts

Showing posts from March, 2024

Happy Fairies

Image
Material HERE All Images AI created by me The girl fairy tubed by Lin Youngblood Mask shared by Nadine S Feel free to use them, no © needed But please don't sell them and claim as your own No Outside Plugins used Open your material 1. New Image 1024x750 Select All 2. Open the background-Copy Back to Image-Paste into Selection Select None 3. Effects-Artistic Effects-Halftone 4. Duplicate Set this Layer to 'Multiply' 5. Effects-Texture Effects-Mosaic Glass Merge Visible 6. New Raster Layer Fill with #e6d9af 7. Layers-New Mask layer-From Image Merge Group 8. Effects-Edge Effects-Enhance 9. Open the Misted Elf-Copy Back to Image-Paste as New Layer Resize 40% Place it as shown 10. Open the Happy Fairy-Copy Back to Image-Paste as New Layer Resize 65% Place her as shown 11. Drop Shadow 11.Image-Add Borders 5-Black Image-Add Borders 5- #e6d9af Image-Add Bordrs 5-Black Image-Add Borders 50- #e6d9af 12. Magic Wand-Feather 1 Click inside the outer border 13. Effects-Artistic-Halftone

Sisters

Image
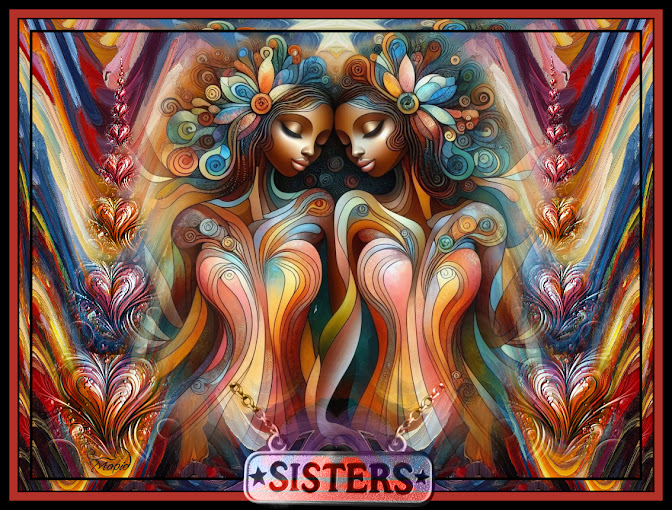
  Translated into French by Manou Merci, Manou Material  HERE All Images AI created and tubed by me  Feel free to use them No © needed  But please don't sell them as your own Outside Plugins Used FU Distortion Filters-Warp Vertical AAA Frames-Transparent Frame A Plugin Site  HERE Open your material 1. New Image 1024x750 Select All 2. Open the Background-Copy Back to Image-Paste into Selection Select None 3. Effects-FU-Distortion-Warp Vertical 4. Effects-Reflection Effects-Rotating Mirror 5. Open the Misted Sisters-Copy Back to Image-Paste as New Layer Resize 80% Move it up just a little bit 6. Open the Misted Heart-Copy Back to Image-Paste as New Layer Resize 30% Place it Bottom Left 7. Effects-Reflection Effects-Feedback 8. Effects-User Defined Filter-Emboss 3 9. Put the Layer to 'Luminance' Duplicate Image-Mirror-Mirror Horizontal Merge Down 10. Duplicate Put this Layer to 'Screen' Opacity 75 11. Set your Foreground to Black Background to #b23128 12. Image-Add Bor

The Egyptian

Image
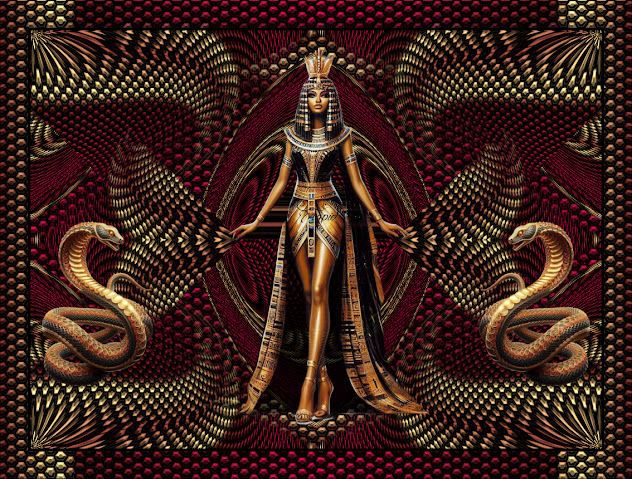
  T ranslated into French by Manou Merci, Manou Material HERE All Images AI created and tubed by me  Feel free to use them No © needed  But please don't sell them as your own Outside Plugins Used Simple-Pizza Slice Mirror A Plugin Site HERE Open your material Put the Gradient into your Gradient Folder 1. Set your Foreground to the Gradient-Angle 180-Repeats 0 2. New Image 1024x750 Fill with the Gradient 3. Effects-Texture Effects-Tiles Duplicate 4. Effects-Distortion-Warp 5. Effects-Distortion-Polar Coordinates 6. Effects-Simple-Pizza Slice Mirror 7. Effects-Image Effects-Seamless Tiling 8. Effects-Reflection Effects-Rotating Mirror Or Rotating Angle 0 if preferred 9. Open the Cobra2-Copy Back to Image-Paste as New Layer Place it bottom left as shown 10. Duplicate Image-Mirror-Mirror Horizontal 11. Open the Goddess-Copy Back to Image-Paste as New Layer Resize 70% Place her in the middle as shown Set her Opacity to about 90 12. Set your Foreground to Gradient-Angle 90 13. Image-Add

Birds of a Feather

Image
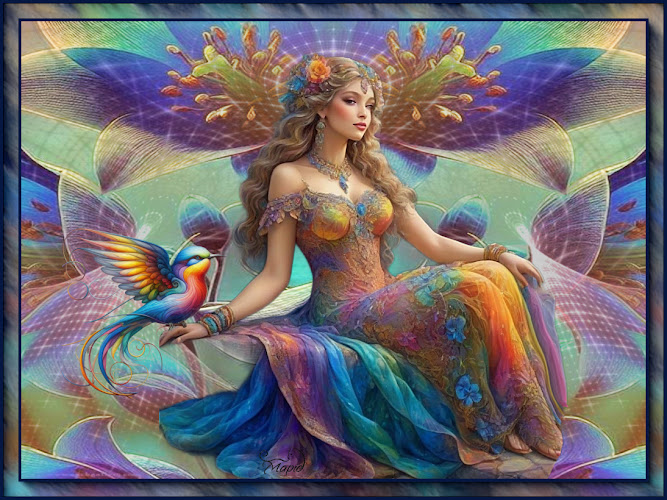
Translated into French by Manou Merci, Manou Material  HERE All Images AI created and tubed by me  Feel free to use them No © needed  But please don't sell them as your own Outside Plugins Used AAA Fotoframe A Plugin Site  HERE   Open your material 1. New Image 1024x750 Select All 2. Open the Background-Copy Back to Image-Paste into Selection Select None 3. Effects-Reflecion Effects-Rotating Mirror 4. Effects-Edge Effects-High Pass 5. Duplicate Set this Layer to 'Hard Light' Merge Down 6. New Raster Layer Fill with Black Layers-New Mask Layer-From Image Merge Group Set this Layer to 'Luminance' 6. Effects-Edge Effects-Enhance More 7. Duplicate Image-Negative Image Set this Layer's Opacity to 85 8. This is what you should have 9. Open the Lady in Colour-Copy Back to Image-Paste as New Layer Resize 85% Place her in the Middle Adjust-Sharpen-Sharpen More 10. Open the Colour Bird-Copy Back to Image-Paste as New Layer Resize once to 50%-then 60% Place it on the Lady&

Lucky Clover

Image
Material  HERE All Images AI created and tubed by me  Feel free to use them No © needed  But please don't sell them as your own Outside Plugins Used Simple-Blintz Andromeda-Rainbow A Plugin Site  HERE Open your material Place the Gradient in your Gradient Folder 1. New Image 1024x750 Select All 2. Open the Background-Copy Back to Image-Paste into Selection Select None 3. Effects-Reflection Effects-Rotating Mirror 4. Effects-Simple-Blintz 5. Effects-Reflection Effects-Rotating Mirror 6. With the Free Hand Selection Tool-Point to Point-Feather 1 Make a selection around the triangle at the top middle 7. Promote Selection to Layer Adjust-Blur-Caussian Blur Select None Merge Down 8. Open the Pot with Clovers-Copy Back to Image-Paste as New Layer Resize 50% Place on top of the blurred triangle 9. Open the Cute Fairy-Copy Back to Image-Paste as New Layer Resize 65% Place her bottom right 10. Open the Clover-Copy Back to Image-Paste as New Layer Place it middle bottom as shown 11. Set your

Easter Chocolate

Image
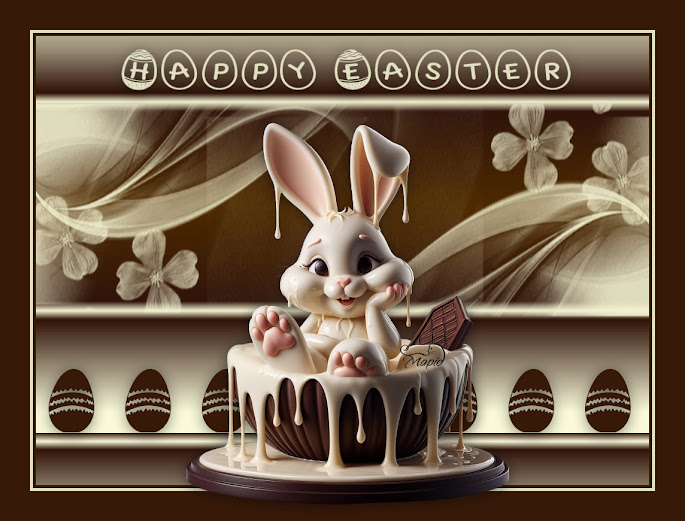
  Translated into French by Manou Merci, Manou Material HERE All Images AI created and tubed by me  Feel free to use them No © needed  But please don't sell them as your own Outside Plugins Used Murameister Copies A Plugin Site  HERE Put the Fonts in your Fonts Folder I open my fonts in Font Runner and I've added it to the Material Zip Put the Gradient in your Gradient Folder Open your material Set your Foreground to Gradient Angle 180-Repeats Nil 1. New Image 1024x750 Fill with the Gradient 2. Duplicate With the Rectangle Tool set to-Rectangle Make a selection around the Brown middle 3. New Raster Layer Fill with #f6f5d5 4. Layers-New Mask Layer-From Image Merge Group Merge Down 5. Select the K on the keyboard Pull it up a bit Go Back to Raster 1 and push it down a bit Play with it until your happy with the settings Merge Down 6. Set both your Foreground and Background to #371908 Open Font Runner Click on Easter Art Font Settings: 7. Press the P on the keyboard, or any other