Flower Power
Material HERE
Outside Plugins Used
VM Extravanganza-James Bondage
Xero-Porcelain
Put the Polka Dot Texture in your Textures Folder
Open your tubes
Tubes AI Generated
Set your foreground to #150a0e and your background to #f97500
1. New Image 1024x750
Fill with the Foreground
2. Layers-New Raster Layer-Select All
Open the lady tube-Copy
Back to Image-Paste into Selection
Select None
3. Effects-Image Effects-Seamless Tiling-Side by Side
Merge Down
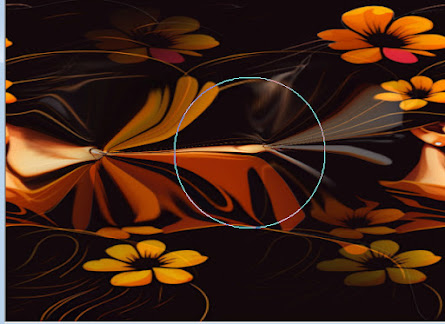
4. Click on your Warp Tool-contract with these settings
untill you get the desired effect and the faces has disappeared
and it starts looking a bit like flowers
5. Open your flower tube-Copy
Back to Image-Paste as New Layer
Resize 50%
Move it to the middle and a bit to the right
6. Duplicate
On the duplicated one, use 3D Effects-Cutout
Merge Down
7. Open the Lady Tube-Copy
Back to Image-Paste as New Layer
Resize 120%
Move her to the left
8. Effects-Xero-Porcelain
Image-Add Borders 5-Background Colour
Image-Add Borders 5-Foreground Colour
Image-Add Borders 50-Background Colour
10. With the Magic Wand-Feather Nil
Click inside the orange
Effects-VM Extravaganza-James Bondage
Select None
11. With the Magic Wand-Feather Nil
Click inside the large orange space
Effects-Texture Effects-Texture


Comments
Post a Comment