Spanish Rose
Tranlated into French by Manou
Merci, Manou
Outside Plugins Used
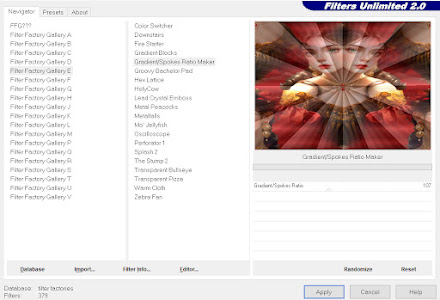
Filter FactoryE-Gradient Spokes Ratio Maker
Alienskin-Impact-Perspective Shadow
Open the material
Put the Gradients into your Gradient Folder
1. New Image 1024x750
Fill with the Red Gradient
2. New Raster Layer-Select All
Open the Lady Tube-Copy
Back to Image-Paste into Selection
Select None
3. Effects-Image Effects-Seamless Tiling
4. Effects-Reflection Effects-Rotating Mirror
Merge Down
5. Effects-Filter FactoryE-Gradient Spokes
6. With the Selection Tool-Feather 1
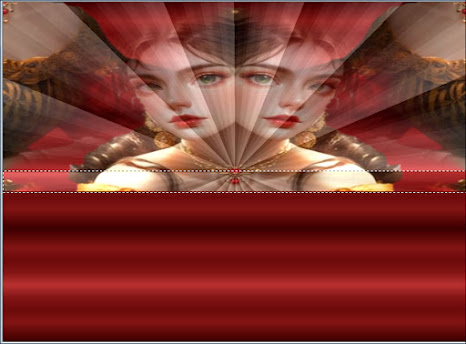
Select the bottom half-see preview-press Delete
Select None
7. Selection Tool-Feather1
Select the bottom half of the top half-see preview
8. Effects-3D Effects-Inner Bevel
Select None
9. Duplicate
Set this layer to 'Multiply' and Opacity to 50
Merge Down
10. Drop Shadow
11. Back to Raster 1
Effects-Texture Effects-Blinds
12. Open the Lady Tube-Copy
Back to Image-Top Layer
Paste as New Layer
Resize 120%
Place her to the right
Same Drop Shadow
13. Open the Gold Bowl-Copy
Back to Image-Paste as New Layer
Resize 75%
Place it to the left
Same Drop Shadow as Before
14. Effects-Alienskin-Impact-Perspective Shadow
15. Set your Foreground to the Gold Gradient
Image-Add Borders 10-White
Magic Wand-Feather Nil-Click inside the white border
Fill with the Gradient
Select None
16. Set your Foreground back to the Red Gradient
Image-Add Borders 40-White
Click inside the white border with the Magic Wand
Fill with the Gradient
17. Adjust-Blur-Caussian Blur
Select None
Add your Watermark and save as .JPG


Comments
Post a Comment