Posts

At the Beach

Image
Material  HERE All AI created and tubed by me.  Feel free to use them No © needed  But please don't sell them as your own No Outside Plugins Used For Everything PSP including Tubes, Masks, Tutorials etc HERE Put the Seashell1 Brush into your Brushes Folder Put the Gradient into your Gradient Folder Open your material 1. New Image 1024x750 Select All 2. Open the Background-Copy Back to Image-Paste into Selection Select None   3. Effects-Distortion Effects-Warp 4. Effects-Reflection Effects-Rotating Mirror 5. Effects-User Defined Filter-Emboss3 6. Set your foreground to Gradient Sunburst 7.New Raster Layer Paintbrush with these settings-Seashell Press Once Same Emboss3 8. Effects-3D Effects-Drop Shadow Set this Layer to 'Dissolve' 9. Open the Misted Background-Copy Back to Image-Paste as New Layer Resize 75% Place it in the middle and a tiny bit to the right 10. Image-Add Borders 5- #24364c Image-Add Borders 50- #c5baaa 11. Magic Wand-Feather 2 Click inside the Ou...

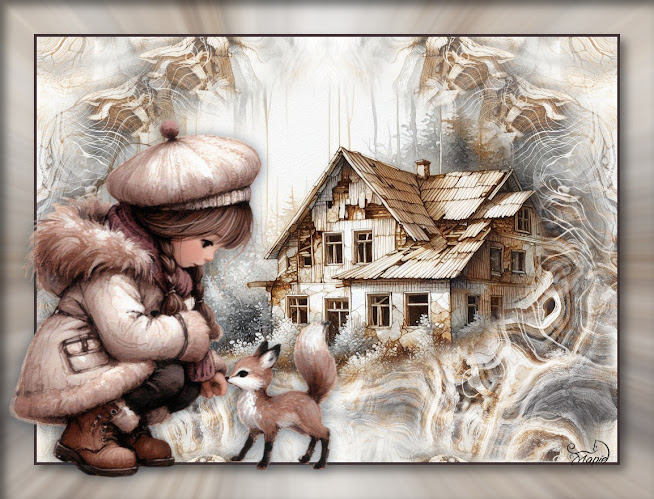
Golden Moments

Image
Material  HERE All AI created and tubed by me.  Feel free to use them No © needed  But please don't sell them as your own Outside Plugins Used Alienskin-Splat-Edges A Plugin Site  HERE   For Everything PSP including Tubes, Masks, Tutorials etc HERE Open your material 1. New Image 1024x750 Select All 2. Open the Background-Copy Back to Image-Paste into Selection Select None 3. Effects-Distortion Effects-Spiky Halo 4. Duplicate 5. Press the K on the keyboard Pull it up as shown Press M on the keyboard 6. With the Magic Wand-Feather 80 Click inside the empty space three times Select None 7. Back to Raster 1 Effects-Adjust-Blur-Motion Blur 8. Effects-Reflection Effects-Rotating Mirror 9. Back to Top Layer Effects-Geometric Effects-Pentagon 10. Effects-Geometric Effects-Spherize 11. Open the Asian Lady-Copy Back to Image-Paste as New Layer Resize 75% Place her as shown 12. Effects-3D Effects-Drop Shadow 13. Open the little dog-Copy Back to Image-Paste as New Layer Re...

Little Vixen

Image
Material  HERE All AI created and tubed by me.  Feel free to use them No © needed  But please don't sell them as your own Outside Plugins Used FilterForge-Distortion-Hot Summer https://www.filterforge.com/filters/4903.html A Plugin Site  HERE   For Everything PSP including Tubes, Masks, Tutorials etc You will need to register, but it's free! HERE Open your material 1. New Image 1024x750 Select All 2. Open the Background-Copy Back to Image-Paste into Selection Select None 3. Duplicate 4. Effects-Filter Forge-Hot Summer 5. Effects-Image Effects-Seamless Tiling 6. Effects-Reflection Effects-Rotating Mirror 7. Selection Tool with these settings 8. Make a selection in the middle of the image Press Delete Select None 9. Image-Add Borders 5-#413234 10. Edit-Copy 11. Image-Add Borders 60-White 12. Magic Wand-Feather Nil Click inside the White Border 13. Edit-Copy-Paste into Selection 14. Adjust-Blur-Radial Blur 15. Effects-3D Effects-Cutout Select None 16. Open the Girl...

City Gold

Image
Translated into French by Manou Merci, Manou Material  HERE All AI created and tubed by me.  Feel free to use them No © needed  But please don't sell them as your own Outside Plugins Used AFS Import-Spirozag Murameister-Perspective Tiling VM Distortion-Radial Pox Alienskin-Impact-Extrude A Plugin Site  HERE   For Everything PSP including Tubes, Masks, Tutorials etc You will need to register, but it's free! HERE Open your material Put the Gradient into your Gradient Folder Put the Font into your Font Folder or open with a font explorer 1. New Image 1024x750 Fill with the Gradient 2. Effects-AFS Import-Spirozag 3. Effects-Image Effects-Seamless Tiling-Side by Side 4. Duplicate Effects-Murameister-Perspective Tiling 5. New Raster Layer Fill with Black 6. Layers-New Mask Layer-From Image Merge Group 7. Effects-Edge Effects-Enhance More 8. Image-Add Borders 5-Black Image-Add Borders 50-White With Magic Wand-Feather Nil Click inside the White Border Fill with the Grad...

Hawaiian Summer

Image
  Translated into French by Manou Merci, Manou Material  HERE All AI created and tubed by me.  Feel free to use them No © needed  But please don't sell them as your own Outside Plugins Used Filters Unlimited-Buttons and Frames A Plugin Site  HERE   Open your material Put the Gradient into your Gradient Folder 1. New Image 1024x750 Set your Foreground to the Gradient Fill with the Gradient 2. New Raster Layer Select All 3. Open the Background 1-Copy Back to Image-Paste into Selection Select None 4. Press the K on the keyboard Push it up just a bit Press M on the keyboard 5. Magic Wand-Feather 90 Click in the empty bottom Press Delete about 2 times Select None 6. New Raster Layer-Select All Open the Background 2-Copy Back to Image-Paste into Selection Select None 7. Pick your Selection Tool-Feather 90-Hexacon 8. Start from Top Left and drag it to Bottom Right Then Press Delete about 3 to 4 times Select None 9. Set the Gradient to angle 270 10. New Raster Laye...